So let’s open up and shed some light on the subject!
What is a Wide Aperture Aperture?
The aperture is the hole in the lens that lets light through. This hole can be controlled to be larger or smaller. This will cause a number of different effects. The most obvious is that more light will come into the camera at a faster rate. So what more can be said about aperture?
Diaphragm ring – Aperture can be controlled by a ring within your lens, every lens has this ring. f-number – The f-number determines how large the aperture will be. Larger numbers imply a smaller aperture. Smaller numbers imply larger apertures. A large aperture would be f/1.8, while f/22 is considered small. The lens – Prime lenses will always have the largest apertures. They can be as large as f/0.85! The largest aperture available on zoom lenses is f/2.8. Exposure value – Aperture is one of the 3 settings that controls the exposure value. An exposure value of 0 is considered correctly exposed. The other settings are ISO and shutter speed.
Wide Aperture
The use of a wide aperture goes beyond how quickly light comes into a camera. An aperture of f/2.8 is considered a large aperture. For some of the below effects to be in evidence you’ll need this aperture or even larger.
Depth of Field With Wide Aperture
When you focus your camera you’ll pick an area of the photo to focus on. This, for example, could be a person in a portrait photo. Depending on the aperture setting on your camera the area in front of and behind your focal point will also be in focus. A large aperture will produce a shallow depth of field. This will make only the main subject sharp. And the area in front and behind the subject will be out of focus. This means a large aperture is perfect for subject isolation using focus. This works well when the subject is placed in the middle of a tunnel. The subject will now pop out of the frame, and the background will be blurred.
Bokeh
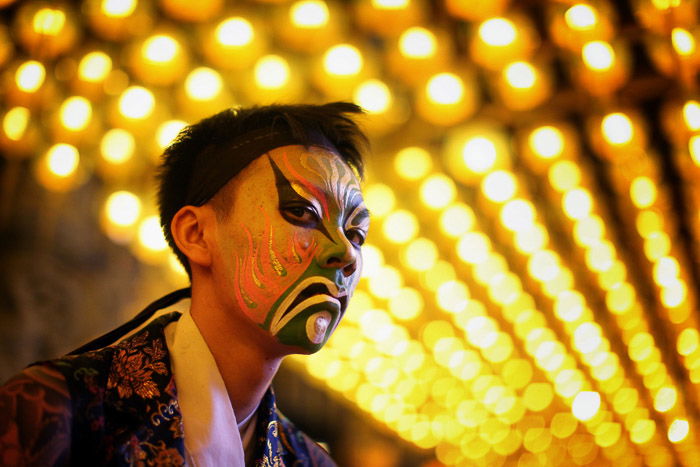
If the main subject is sharp, there can be a large portion of the photo that isn’t. This area is often referred to by photographers as bokeh. If there are no objects behind the main subject this area of the photo won’t be noteworthy. This might happen if the background is a simple blue sky. When the background is a line of trees, a tunnel, or street lights, you’ll see a pleasant bokeh background. When there are points of light this will manifest itself in the form of light globes. It’s possible to do even more with bokeh. You can create shaped bokeh such as hearts, stars or electric bolts. To do this you’ll need to cut a black circle from some paper. Then cut the shape you desire into the black circle and make sure it is in the center of your black disc of paper. Place it over your lens and shoot away.
Low Light Photography
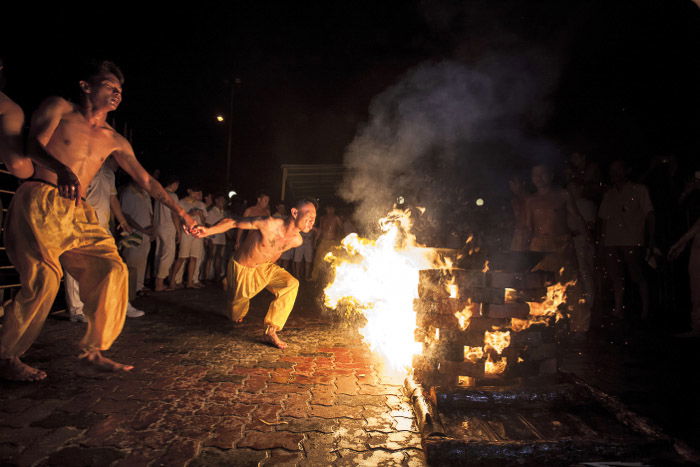
A good fast lens is a must have when it comes to low light. It’s true that cameras perform better at high ISOs these days, somewhat mitigating the need for a large aperture. That said, without a large aperture you’ll often be struggling for light, especially when it comes to night street photography. Get a good quality 50mm lens with a large aperture and you’ll be set for most low light settings.
Action Photography
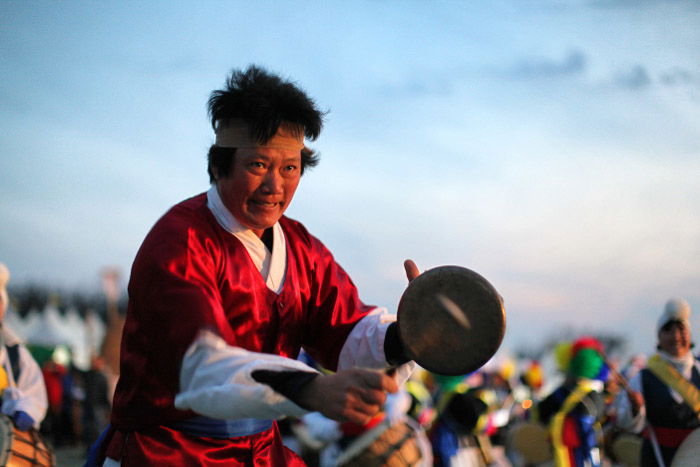
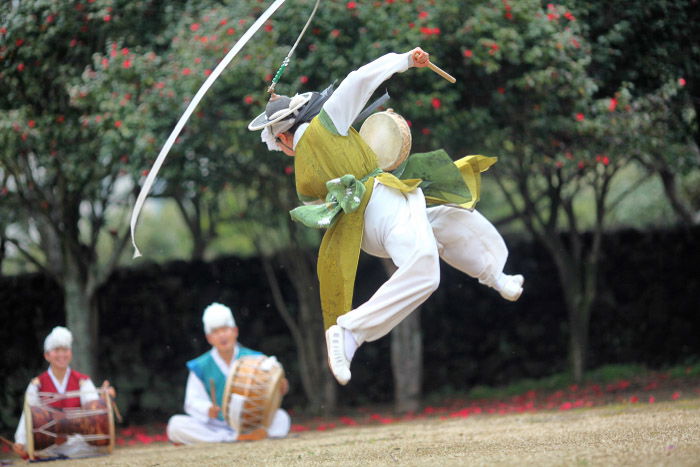
Action photography is about fast shutter speeds, but wide apertures play a part here as well. That wide aperture allows light to enter the camera quickly enough to ensure a fast shutter speed is achievable. Action photography often means sport, which can make using a large aperture tricky. That’s due to the shallow depth of field, and because the main subject is moving in a dynamic environment. This can mean the subject moves out of the focal sweet spot. When you get the action photo right with the large aperture it will look amazing. Look to use the camera’s focus tracking function. It’ll help you keep your subject focused.
Narrow Aperture
At the other end of the scale is a narrow aperture. This means an aperture of f/16 or smaller. It should be noted that you wouldn’t normally use an aperture this small for landscape photos. The sharpest focus is usually achieved at f/8 or f/11 depending on the lens. The following are ways in which narrow apertures can benefit your photography.
Depth of Field With Narrow Aperture
If elements in the foreground and background of your photo are important, and you want them to be focused you’ll need to use a narrow aperture. The effect of this narrow aperture is a large depth of field, with most areas of the photo being in focus. If you have a line of people and you want them to all be in focus, for example, you’ll need to use a large depth of field.
Aperture for Landscape Photos
As mentioned most landscape photos should be photographed at that lenses sweet spot aperture, often f/8. This calculation changes when there are strong foreground elements that you want to be in focus, then a narrower aperture is needed. If you focus on an object very close to the camera even using a small aperture might not be enough to keep the background sharp. Bracketing your images for focus is an option. Focus stacked images can then correct focus problems in post-processing.
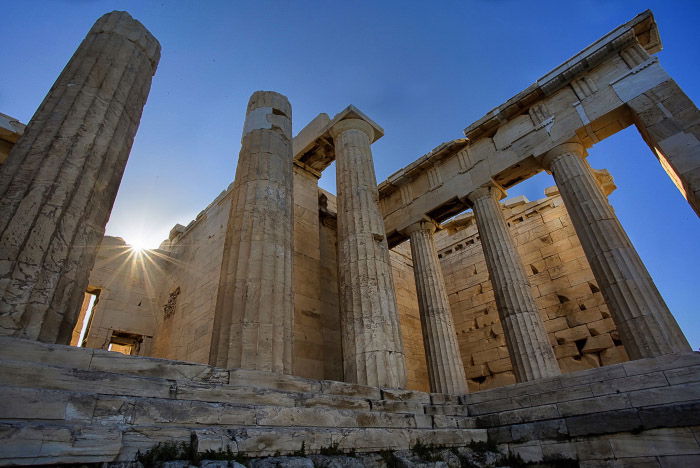
The Starburst Effect
The starburst effect can only be achieved by using a small aperture. It will cause a point of light to have spikes. The type of diaphragm your lens has will affect the number of spikes produced. If the diaphragm has an even number of blades, then the number of blades will also equal the number of starburst spikes produced. If the number of blades is uneven you will get double the number of spikes. This means that 9 blades will produce a starburst with 18 spikes. It’s possible to produce the starburst effect from street lights, and even the sun. Look to follow these steps to be successful at this technique. It should be noted there is a starburst filter you can use to create spikes. But it looks better and more natural using this method.
Street lights – You’ll need a tripod since small apertures and street lights mean a long exposure at night. Experiment with the aperture a little, the smaller the aperture the longer and thinner the spikes will be. Sunlight – Photographing the whole sun won’t produce a good starburst effect, the likelihood is that the sun will overexpose your photo if you’re aiming at it. It’s also not good for your eyes, unless the sun is near sunset. This means finding ways of reducing the amount of sun photographed. That means blocking the sun. This could be by using leaves on a tree, clouds as they pass the sun in the sky, or the horizon line as the sun begins to set.
Slow Shutter Speed
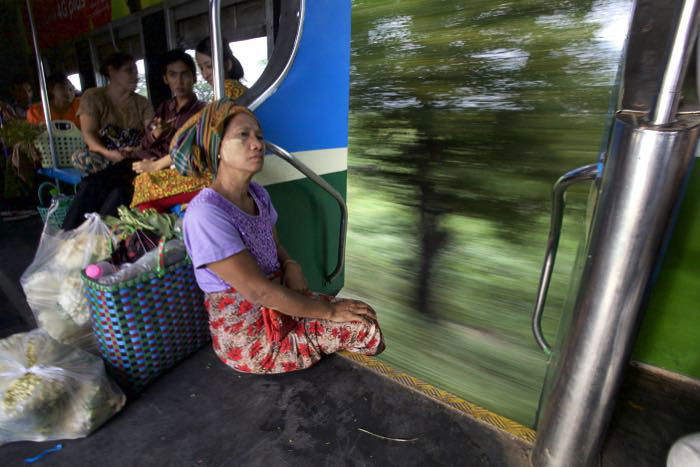
As with action photography, slow shutter speed is not controlled by the aperture. Using a small aperture, especially into the evening will result in slow shutter speeds. Slow shutter speeds in conjunction with small apertures can in interesting for cityscapes. You’ll get traffic light trails from cars, and starburst effects from the stationary street lights. Other effects that you can get from slow shutter speed are the flattening of water, or making white water appear like silk. These photos taken in rural areas often during the day will require a small aperture. This is in order to get long exposures between 1 and 20 seconds to achieve the effect. Panning may also need a narrow aperture, the shutter speed of around 1/20th is not too slow though. A smaller aperture gives you a larger depth of field to use. This is useful with a moving object and can result in a sharper focus on the object you’re panning.
Conclusion
Learning about using aperture is really important for your photography. It’s a setting with a great deal of creative potential. You need to know about its relationship with shutter speed as well. A lot of photographers will use aperture priority mode for many of their photos. It speeds up changing your settings, and aperture is that important. How do you use aperture in your photography? Do you use aperture priority, or do you go fully manual? We’d love to see example photos that have used aperture for creative effects. Please leave your thoughts and photos in the comments section of this article. Check out our post on when to shoot portrait vs. landscape next!