In this article, you’ll find out what lens mounts are, what types exist, and how you can use them to your benefit.
Understanding Lens Mounts: What Are They?
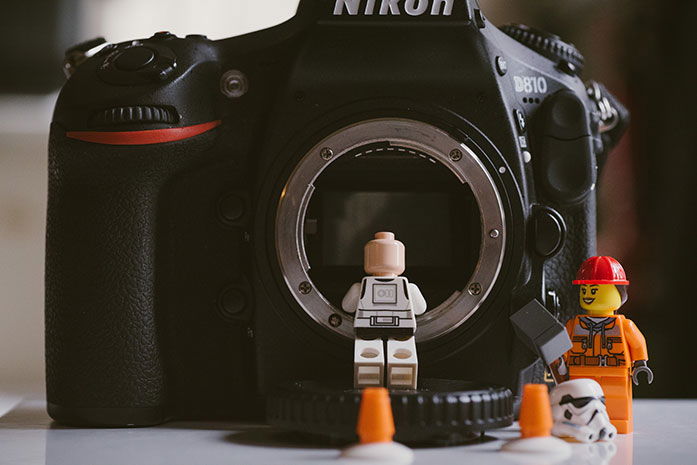
Since the dawn of photography, professional cameras have been designed in a way that allows lenses to be swapped. This is crucial because no single lens will ever be able to satisfy the needs of all photographers. Interchangeable lenses empower us to achieve exactly the results that we want. In order to freely swap lenses, there must be a standardised connection protocol. Every lens (within a family) must be designed with similar characteristics. Most importantly, with the exact same design on the rear end to fit perfectly to the camera. Likewise, every camera body has to be designed with an identical lens-attaching surface. This connection is called the lens mount. You may ask: why are then multiple types of lens mounts, why isn’t one enough? For sure, it would be simpler for the end-user. The reason behind this is both technological and economical. Different systems require mounts with different sizes, flange distances, electronic connections, and other physical traits. Also, camera manufacturers generally want to have their own lens mounts, which they don’t share with anyone else. This ensures that they have full control of development, and won’t have to give out potential business secrets. We’ll get into each of these reasons in detail, so read on.
A Short History of Lens Mounts
The size of the film, and thus the size of cameras, followed a trend throughout the last 150 years. The improvements in technology allowed them to get smaller and smaller. Large format photography, where it all started, required a film size of several inches across. Today, smartphone camera sensors only measure a few millimetres. Large format works very differently from smaller formats. In many aspects, it represents 19th-century technology (which doesn’t mean it’s inferior). As such, there is no standardised lens mount on large format cameras. The lens is attached to a lensboard, which is then attached to the bellows. Medium format cameras have shrunk significantly in size. And the need for compactness inevitably brought the need for standardisation. Hasselblad introduced their lens mount with the 1600F model. It’s still in use today. Others followed, including Pentacon (Six) and Mamiya (645). These are the most popular medium format mounts. Meanwhile, 35mm film became wide-spread. Countless camera models, and with them, various lens mounts appeared. Some of them were the predecessors of the mounts that we use in modern DSLRs. Some of them went extinct, and some of them are still in use. Along with brand-specific mounts (Canon’s old FD, Nikon F), universal mount types also gained ground. M42, M39 and T-mount are the most notable among these. Modern lens mounts are comparable in that they all have electronic wiring and they are all twist-on bayonet mechanisms. The most popular of these are:
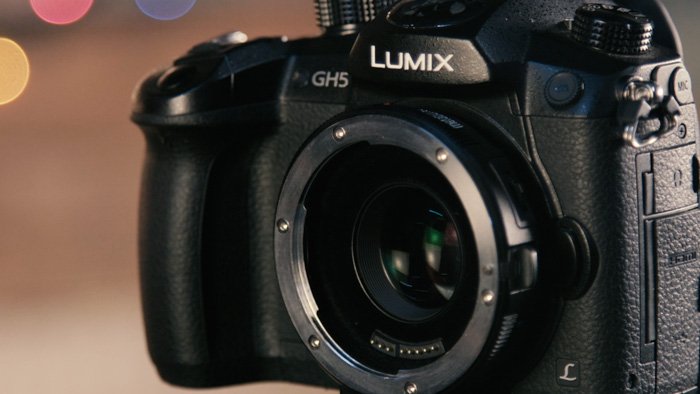
Canon EF-mount (DSLR) Nikon F-mount (DSLR) Micro Four Thirds mount (universal, Panasonic, Olympus, DJI and Blackmagic are the main manufacturers) Sony E-mount (mirrorless) Fujifilm X-mount (mirrorless).
Some new mirrorless mounts we expect to become popular:
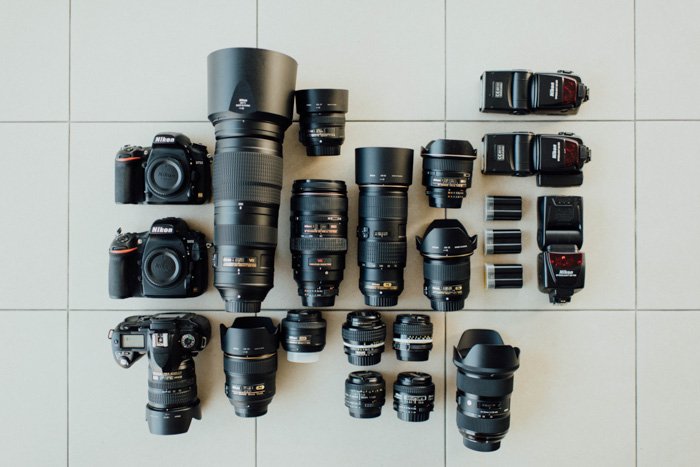
Canon RF-mount Nikon Z-mount Leica L-mount (Sigma and Panasonic design such cameras as part of the ‘L-mount Alliance’ too) Fujifilm G-mount (medium-format). An extensive Nikon F-mount kit
Main Characteristics of Lens Mounts
Lens mounts differ in several aspects. Let’s take a look at what the most important differences are:
Camera Types They Attach To
This important because it determines the next two factors, size and flange distance. Mirrorless cameras generally need a slightly narrower diameter and a much shorter flange distance than anything else. DSLRs must be much bulkier because of the mirror box. This influences their lens mounts.
Diameter
There are multiple considerations to a lens mount’s diameter. The most important one is what sensor(s) it’s designed for. Intuitively, you don’t need such a large mount for a 1″ compact sensor as for a full frame sensor. Most mount systems contain cameras of multiple sensor sizes. For instance, EF, F and E mounts all support both full frame and APS-C cameras. In those cases, the mount is designed and calibrated for full frame sensors. EF and F were even developed before the cropped sensors’ era. Also, in general, the wider the mount is compared to the size of the sensor, the more headroom lens designers have. This means that they can design lenses with wider apertures and better image quality.
Nikon’s Diameter Story
Take the example of Nikon. Their F-mount (first used in 1959) is the narrowest among major full frame DSLR mounts. Its inner diameter measures only 44mm, compared to 46mm on Sony E and 54mm on Canon EF. This significantly limits them with F-mount lenses. Canon manufactures f/1.0 (discontinued) and f/1.2 lenses with autofocus. Nikon’s fastest F-lenses start at f/1.4. This is solely due to the narrow mount. So, when developing their full frame mirrorless mount, they decided to jump to the top. The new Z-mount has the largest inner diameter of any full frame mount currently, 55mm. The change encouraged Nikon to demonstrate power, so they released a 58mm f/0.95 lens. If you’re interested in buying one, expect to spend more on it than on a small car.
Flange Distance
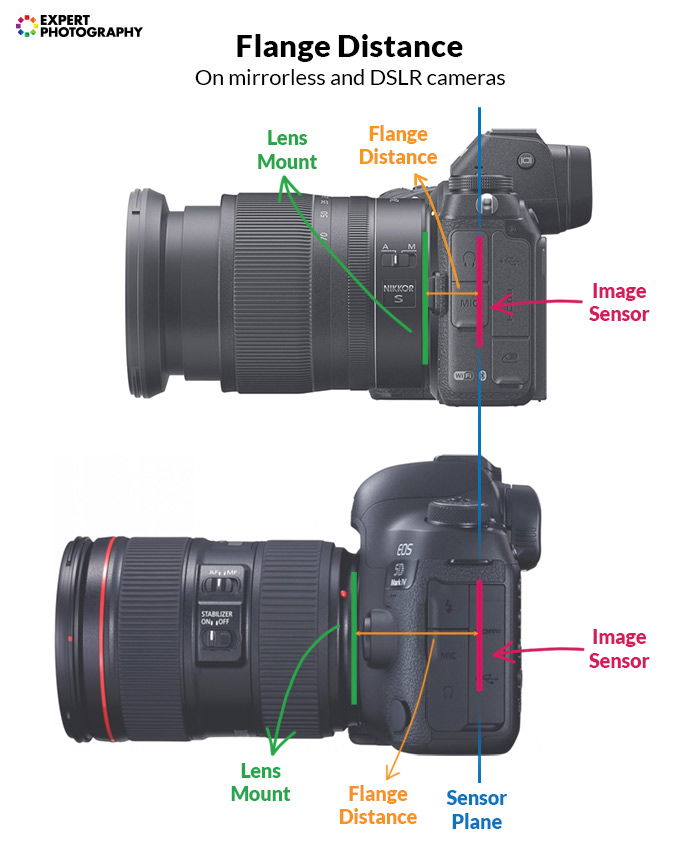
Flange distance is the distance between the lens mount and the sensor in a camera. It varies between manufacturers, and between types of cameras, too. A mirror mechanism increases the minimum required flange distance for a camera system. If a camera has a mirror, flange distance can’t be much shorter than 45mm. Mirrorless cameras can go as low as 16-18mm. Full frame DSLR mounts have flange distances around 45mm. Canon EF is 44mm, Nikon F is 46.5mm. Full frame mirrorless mounts are much shorter. Sony E is 18mm, Nikon Z is 16mm. Flange distance affects the appearance and qualities of a lens mount. The first is, of course, size. Cameras with shorter flange distances can be much smaller, as their mount doesn’t have to stick out far away. But their image quality can be better, too. This is not because of the cameras themselves. Instead, it’s because of the lenses. A shorter flange distance allows lenses to be designed closer to the sensor. Not only does this free up space, but it also removes the need for some special lens elements. This affects wide-angle lenses mostly, as telephotos are long in design anyway. You can already notice the improvement, but we’re really at the start yet. For example, Nikon’s new Z 14-30mm f/4 lens is not only small, but it also boasts a surprisingly great image quality. Yet, its price is reasonable.
Electronic Communication
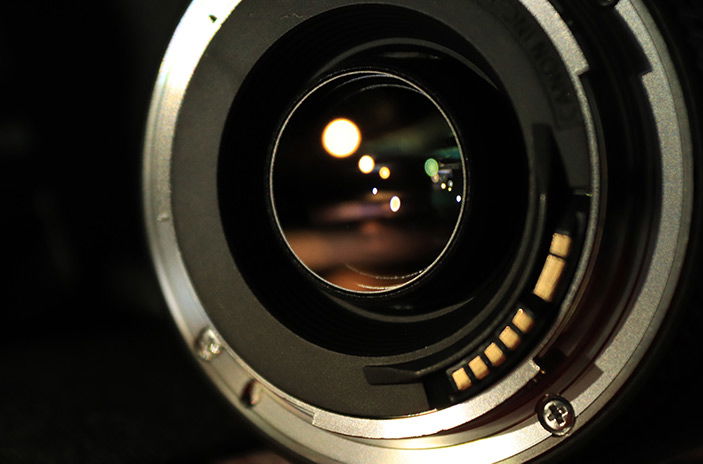
There are differences in electronic protocols and options, too. When you detach a lens, you’ll notice contact pins on both the lens and the camera. They aren’t there for fun: they provide proper communication. They power and control autofocus, aperture, metering, image stabilization, transfer data and more. These pins are not the same on every lens mount. In fact, they sometimes vary even within a lens mount. For example, the EF mount has seven pins by default. But, some L-series EF lenses have three more to work with teleconverters. EF-mount cameras have 10 pins to accommodate all options. Manufacturers sometimes use similar solutions throughout their different lens mounts. The Canon RF mount has the same base pin layout as the EF mount, along with some extra pins. Because of this, adapting EF lenses on R bodies does not compromise their autofocus speed and accuracy. On the other hand, Nikon (apparently, as this is not official) redesigned their pin layout on the Z-mount. Adapting directly pin-to-pin is thus not possible. In consequence, the F-to-Z adapter slows autofocusing slightly. There is an even worse example. When Sony designed the E-mount, they completely revamped the communication protocol. This caused huge problems when they tried to adapt A-mount lenses (their previous mount). There was no physical limit to the adaptation. Yet, protocols differed so much that adapted lenses were useless. Autofocusing was impossible, and light metering was problematic, too. The issue was fixed months later with several consecutive software updates. A quick tip: if you encounter a communication error in your camera, try cleaning the contact pins. Most of the time this solves the problem.
Minimum Back Focus Distance
This is the distance between the rear lens element and the sensor. It’s measured at the closest focusing distance since that’s when the lens is closest to the sensor. Usually, there’s something before the sensor that a glass element can hit, if designed improperly. In DSLRs, it’s the flip-up mirror. In SLT-type cameras, it’s the pellicle mirror. In mirrorless cameras, lenses can go almost until they hit the sensor. Most of them don’t, because the rear glass element would be very vulnerable on a lens like that.
Locking Mechanism
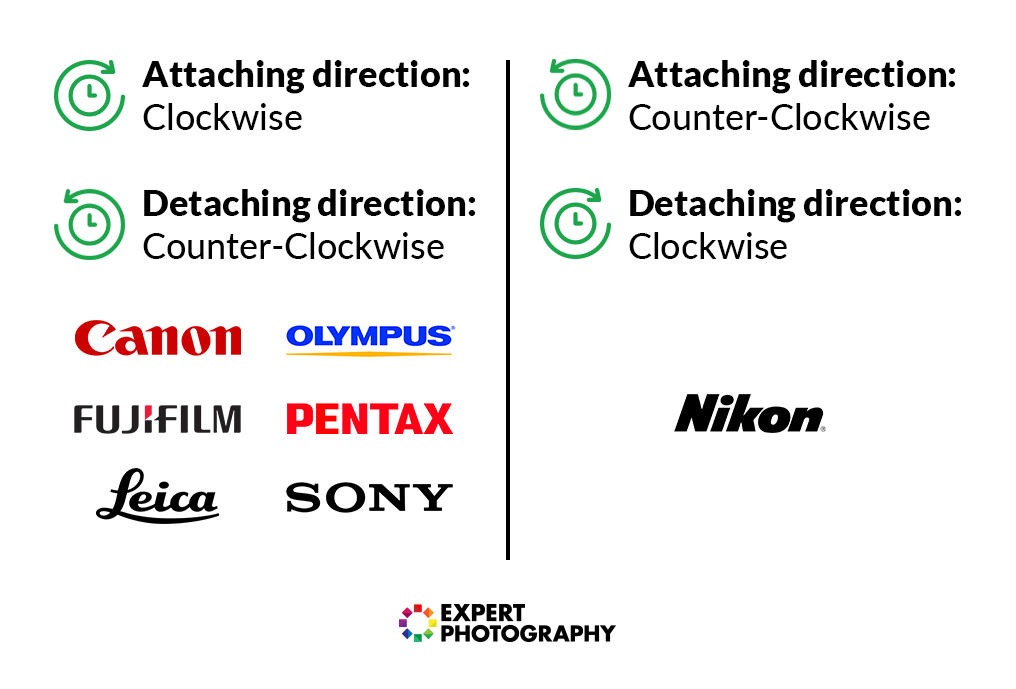
Several different locking types exist. Screw lock, breech-lock and bayonet-type lock are the three most important. The first two were (and some still are) used with manual-only lenses. M42 is the most popular screw mount. It’s a universal mount, used in countless cameras and lenses released after the ’50s. Every modern photography lens has a bayonet mount. Bayonet mounts use tabs that lock the lens. Typically, you need to align a colored dot on the lens to another dot on the camera body. The lens needs a turn of 45-90 degrees to lock. After you twist it to its correct position, a spring-loaded pin locks the lens into place. When you press the lens-detaching button, the pin retracts and the lens can be freely removed. Camera makers use the bayonet mount because of its advantages compared to other types. Attaching and detaching lenses is a faster process than with any other type. It can also be done with one hand, which is crucial when running-and-gunning. Lenses mounted with a bayonet fit perfectly, and there’s only one way to attach a lens. This is essential for electronic communication between a camera and a lens since the contact pins must align properly. Mounting direction varies among manufacturers. Most of them attach clockwise, with the notable exception of Nikon’s F and Z mounts. Nikon lenses attach counter-clockwise, and their zoom and focus rings are inverted as well.
Continuation and Adaptation
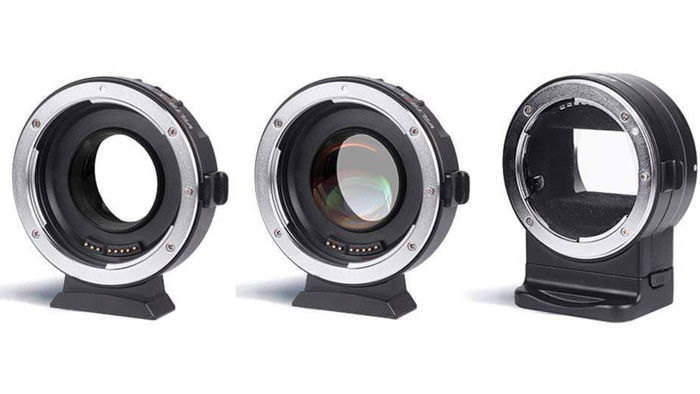
Some lens mounts are direct successors to other mounts or sideline continuations. Let’s take a look at Canon’s mounts from the last 50 years. The Canon FD mount was released in 1971. It has a flange distance of 42mm. When the new EF mount was released (with a flange distance of 44mm) this posed a problem. Direct adaptation was not possible without corrective optics. Canon released a teleconverter/adapter, but it only worked with select telephoto lenses. The EF mount has several derivations. One is the EF-S mount, which is physically identical to the EF. It allows the mounting of all EF lenses, plus newly-designed crop sensor lenses. EF-S lenses protrude deeper into the mirror box of Canon cameras. They have a shorter back focus distance. This enables Canon to design smaller and cheaper crop sensor lenses. The other one is the EF-M mount, which is smaller than the standard EF. It also has a slightly different communication protocol. It has an 18mm flange distance It was designed for Canon’s smaller M-series mirrorless cameras before the full frame EOS R came out. Adapting EF and FD lenses to M cameras is possible without complications. The RF mount is the newest continuation of EF. It’s almost identical electronically but has a shorter flange distance of 20mm. It adds extra available features, such as a control ring on lenses for changing aperture or ISO. EF and FD lenses are fully adaptable to RF mount. As you can see, adaptation is generally possible within the products of the same manufacturer. But what about interchanging different brands’ lenses? It depends on two things. Generally, you can adapt lenses that have a flange distance at least 3-4mm longer than the mount you want to adapt it to. The extra distance is needed to fit the adapter itself. The other barrier is electronic control if it’s a thing you want. Electronic adapters are much more expensive than dummy adapters. They have chips inside to code and decode the data between the camera and the lens. Still, even the most advanced adapters reduce autofocusing speed slightly.
