In this article, we’ll show you how to use the Object Selection Tool in Photoshop for a smoother workflow!
Using the Object Selection Tool in Photoshop: What is it?
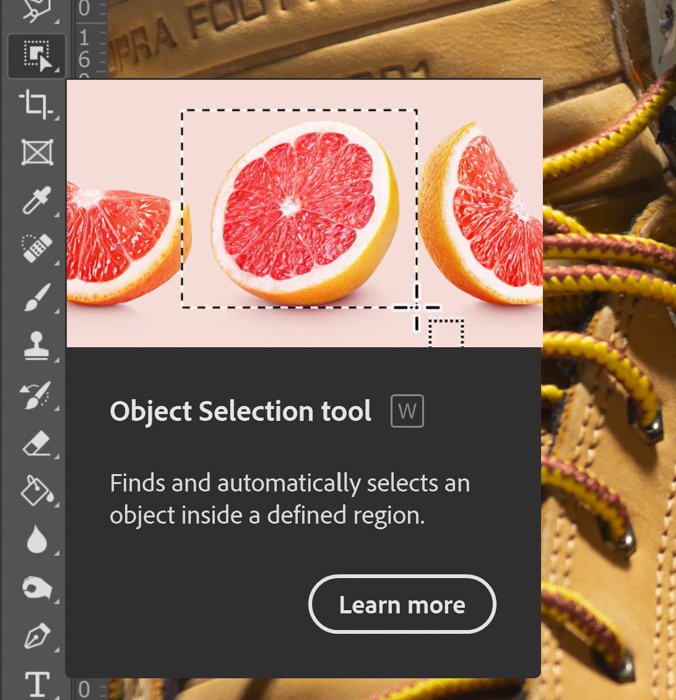
As the name suggests, the Object Selection Tool in Photoshop allows you to select objects in a photo automatically. Objects could be anything from furniture to people and animals. It uses artificial intelligence to precisely choose the elements you pick.
Why is the Object Selection Tool Useful?
The Object Selection tool helps to isolate an area from the rest of the image easily. For example, you could use the tool to transplant your subject to a different background. Or you could also use the tool to make separate edits to the main subject or the background.
How Do You Use the Object Selection Tool in Photoshop?
The Object Selection Tool does everything automatically and is easy to use! Here are all the steps for using this feature in Photoshop.
Step 1: Select the Object Selection Tool
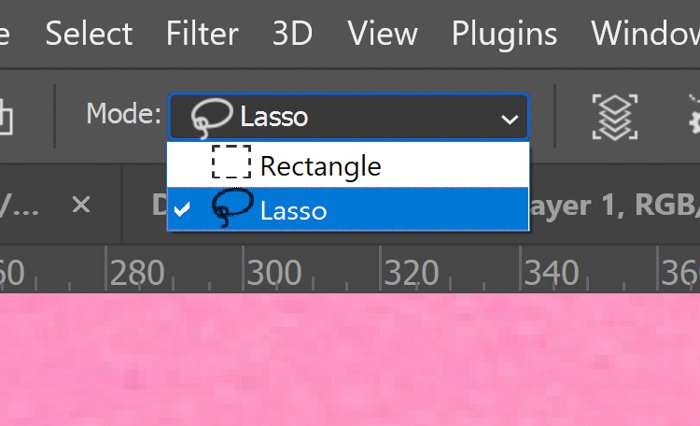
Select the Object Selection Tool in Photoshop, which is below the Lasso Tool icon. Then, in the Options bar (the horizontal bar right under the menu bar), look for Mode and select either Lasso or Rectangle.
Step 2: Choose the Selection Method
If you’re selecting an object with a basic shape, we recommend the rectangle. But if you want to isolate a more asymmetrical element, it’s best to use the Lasso. Once you finish selecting your Mode, you have to choose the region you plan to isolate in the image.
Step 3: Draw Around Your Selection.
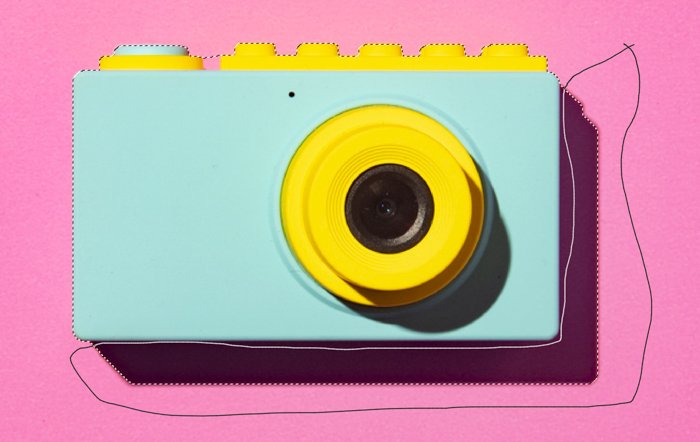
If you chose Rectangle, click and drag your mouse across the screen until the object you want to select is inside your set parameters. If you picked Lasso, “draw” around the area you want to isolate. Once you’re satisfied with the parameters you set for the Object Select tool, release your mouse’s left-click. Photoshop then starts to process your selection. Depending on the area you want to isolate, the Object Select Tool may take a couple of seconds to process the image. The selection is ready once the marching ants appear around the object you selected.
How to Add or Subtract Areas Using The Object Tool Selection
There are times Object Selection Tool fails to determine the edges of the item you want to isolate. In most cases, it’s due to the lack of contrast between the subject and the background. But it could also be because the edges are barely visible in the first place.
Step 1: Add a Selection
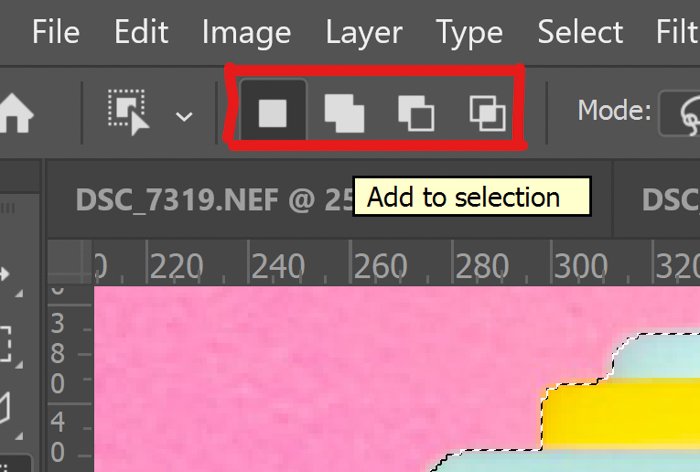
If you end up with an incomplete selection, you can go to the Options bar and pick the icon with two solid squares to add an area to your selection. Alternatively, you can press the Shift key and redraw the parameters around the section using your mouse.
Step 2: Subtract From Selection
And what if you want to exclude an area from your selection? Then click the icon with grey and white squares. Alternatively, you can press the Alt key and draw around the section you want to remove. Keep in mind that it may take a few attempts before you fix your selection using this method. So keep selecting the area you want to include or exclude until the marching ants are in the area you want them to appear.
How to Add or Subtract Areas Using the Pen Tool
Using the Add To or Subtract From features of the Object Selection Tool is beneficial. But there will still be times when you won’t achieve a precise selection even with their help. If that’s the case, you can use the Pen Tool instead.
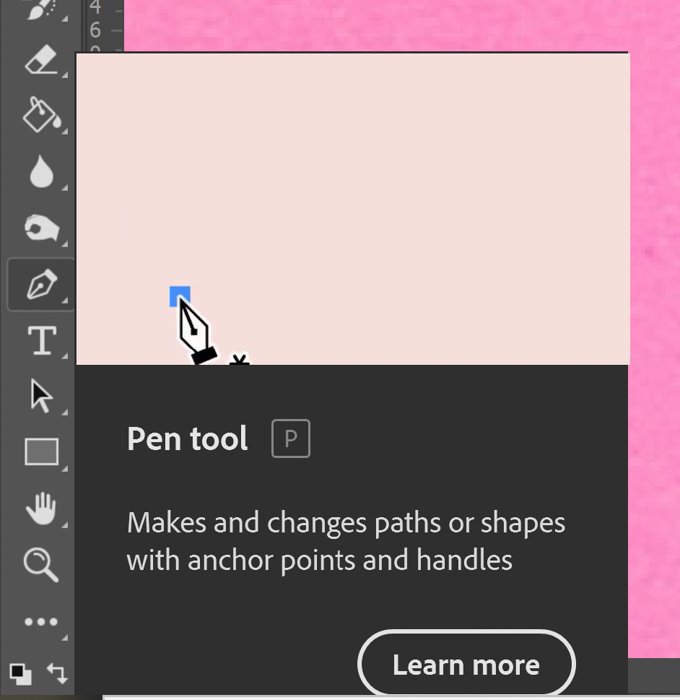
Step 1: Select The Pen Tool
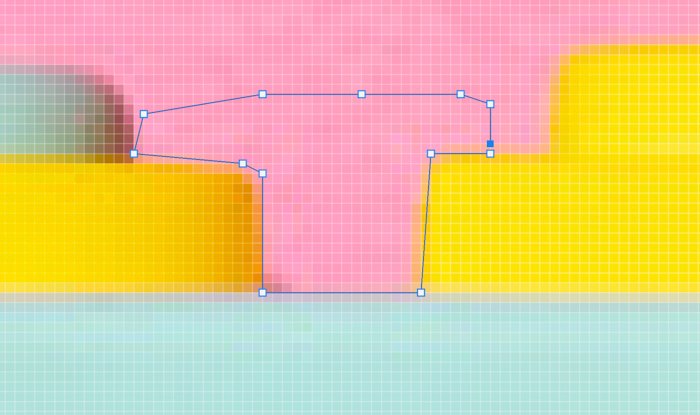
To start adding to or subtracting from your selection, you’ll need to click the Pen Tool first. You can then begin adding points, tracing the edges of the object you want to isolate.
Step 2: Use the Selection Option to Add or Subtract
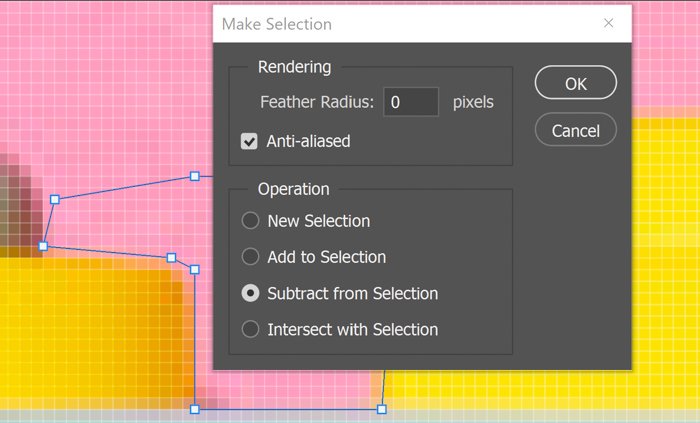
Once you complete your selection, go to the Options bar and choose Selection. Once a dialogue box appears, click either Add to Selection or Subtract from Selection.
Step 3: Adjust the Feather Radius
At the top of the Dialogue Box, you also have the option to change your Feather Radius. 0 produces the sharpest selection. But if the area you want to isolate has blurry edges, feel free to change this value. Keep in mind that the higher number you choose, the blurrier the edges.
How to Refine Your Selection
Once you make a selection using the Object Selection Tool in Photoshop, you can refine it with the Select and Mask Feature.
Step 1: Select and Mask Your Selection
Go to the Options Bar and click Select and Mask. A dialogue box then appears with a few tools you can adjust to refine your selection.
Step 2: Adjust Transparency
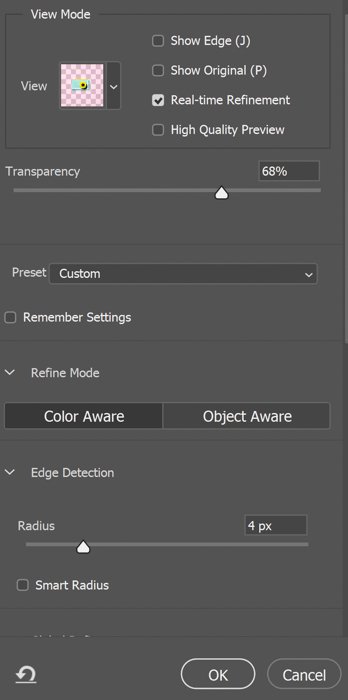
Go to the Properties section on the right side of the dialogue box. Increase the Transparency so you can better see your selection.
Step 3: Adjust Edge Detection
Go to Edge Detection and change the value to make the radius of your edge larger or smaller. You can also check Smart Radius if you want Photoshop to do this task automatically.
Step 4: Adjust Global Refinements
You can use Global Refinements to adjust the quality of your selection. Tweaking Smooth, Feather, Contrast, and Shift Edge sliders will help you achieve a clean selection.
Step 5: Use Brush, Refine Edge Brush, or Quick Selection Tools
At the left of your screen, you can click the Brush, Refine Edge Brush, or Quick Selection tool to add to or subtract areas from your selection. You can apply any of these options as an alternative to the Pen tool, especially if you find the latter difficult to use. Once you are satisfied with your adjustments, click Okay, and you finally have a precise selection!
Conclusion
The Object Selection tool in Photoshop is one of the most accessible options for quick selections. But, although it does a great job isolating a subject, it’s not perfect. So don’t forget to use the techniques we mentioned to help you cut out elements in your photo like a pro. If you want to learn how to master Lightroom as well, check out our Effortless Editing with Lightroom eBook!