What Are Photoshop Layers?
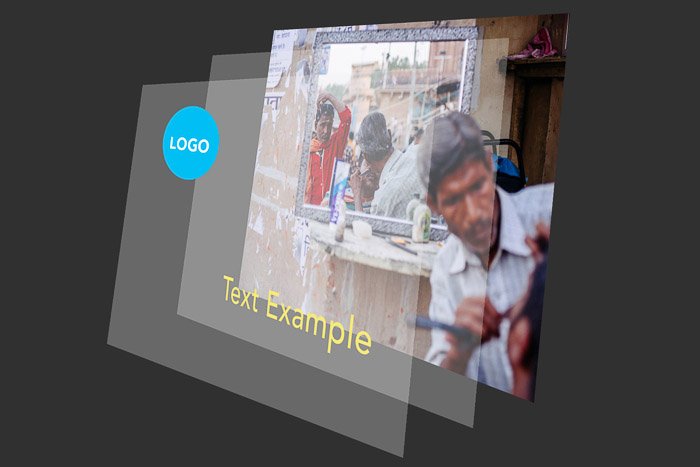
Layers are different images stacked on top of each other. You can use each layer without affecting another one to make adjustments. Together they form one final image. It could look something like this in real life. The advantage of using Layers is that you can save a Photoshop file with all the layers included. This means you can use layers for non-destructive editing. Your adjustments in Photoshop will never destroy the original image. The layers contain all the extra information and/or images you want to add to the original file. You can use Layers to add text, make image composites, or adjust colors and contrast. It’s even possible to add vector shapes and special effects.
How to Start Using Photoshop Layers
When you open a photo, that will be your first layer and it’s always named ‘Background Layer’. On top of this layer, you can add an unlimited number of new layers. You can see all the layers in the Layers Panel. You can organize them how you want but the important thing is to name them. If you don’t, you’ll get lost in a mess of layers all named the same. Let’s take a look at the Layers Panel and how to add a layer.
How to Add a Layer in Photoshop
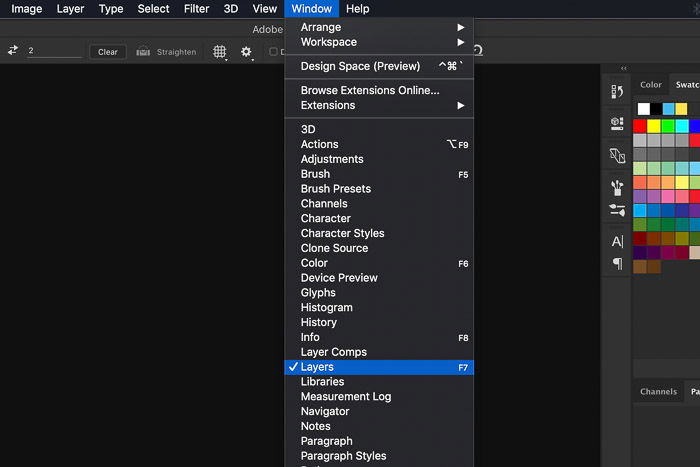
You can find the Layers Panel on the right. If it’s not there for some reason, you can make it appear by selecting ‘Layers’ in the Window menu. Now, let’s start using Photoshop Layers.
Step 1: Open a Photo
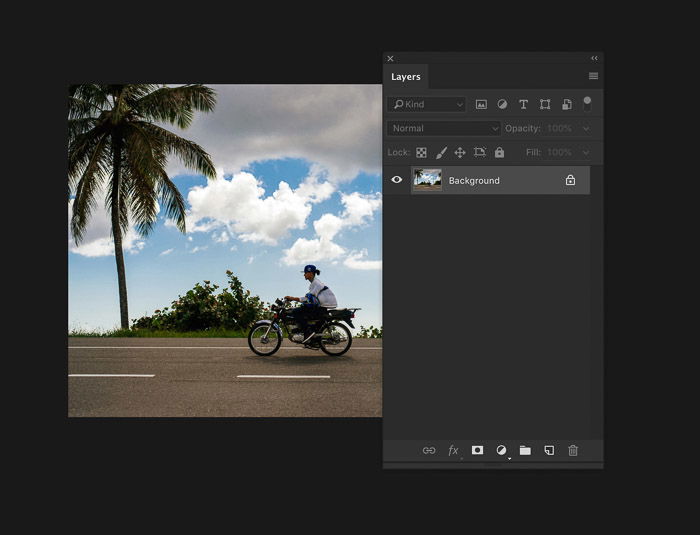
Open a random image and take a look at the Layers Panel. The first layer is the photo you opened.
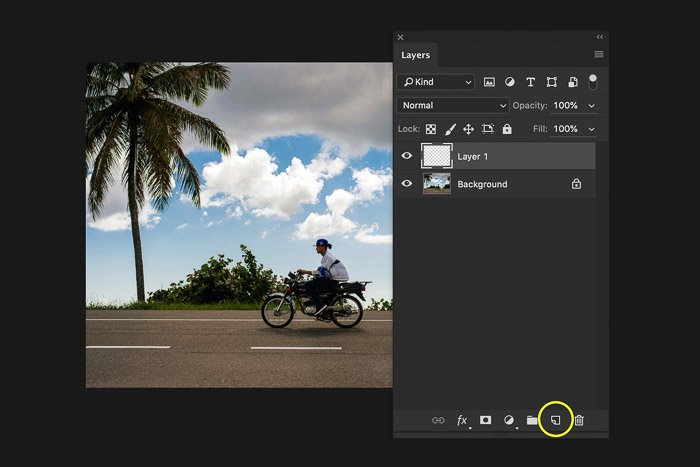
Step 2: Create a New Layer
Create a new layer by clicking on the ‘Create a new layer’ button. The new layer will always appear on top of the background layer. When you start learning how to use Photoshop Layers, it’s important to make a habit out of naming your new layers.
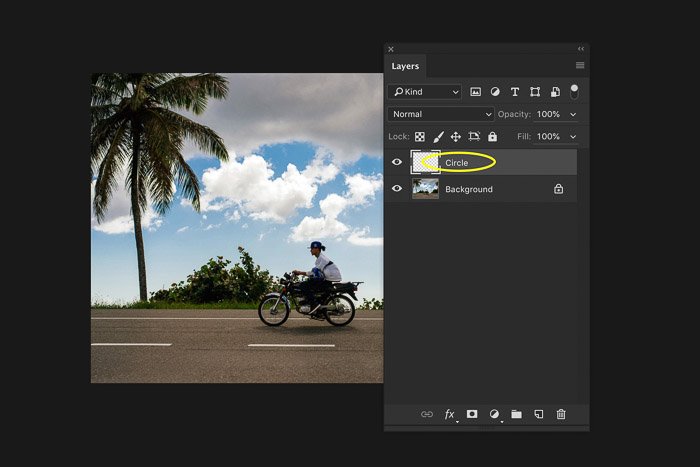
Step 3: Name the New Layer
Double click on the new layer’s name and rename it ‘Circle’. Always use names that will tell you the purpose of each layer.
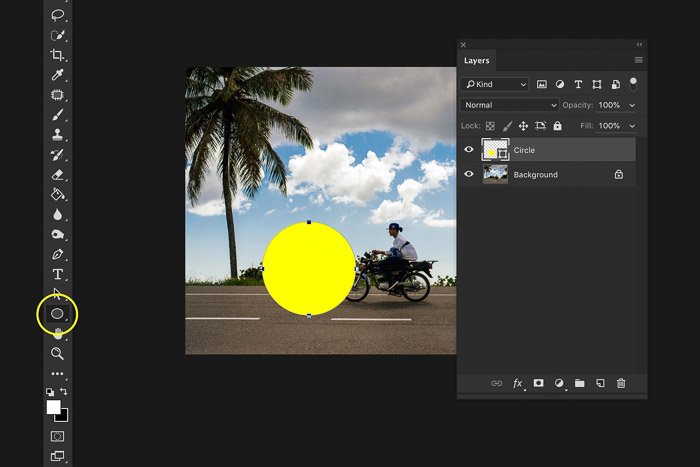
Step 4: Add an Object
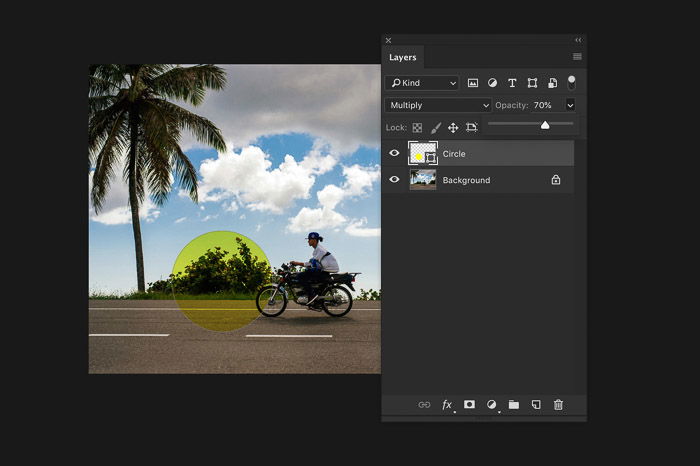
Make sure to select the Circle Layer. Use the Ellipse Tool from the toolbar to draw a circle on the new layer. And that’s it, you’ve created your first new layer! Now, we’ll take a closer look at the Layers Panel.
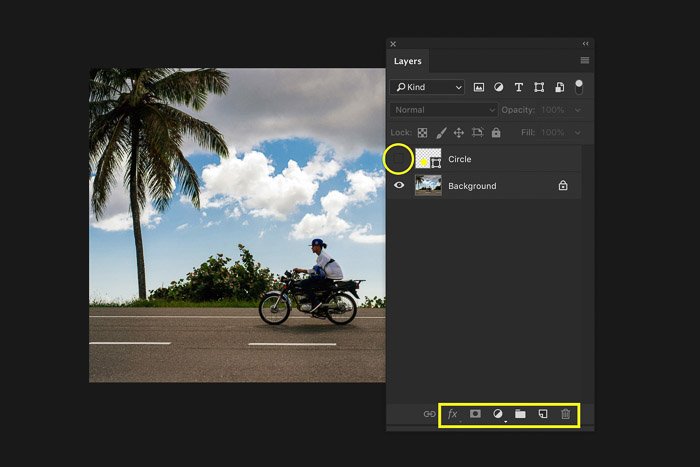
An Overview of the Photoshop Layers Panel
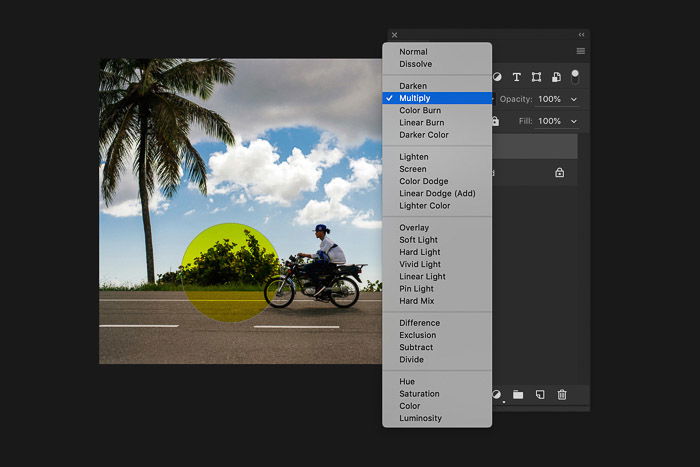
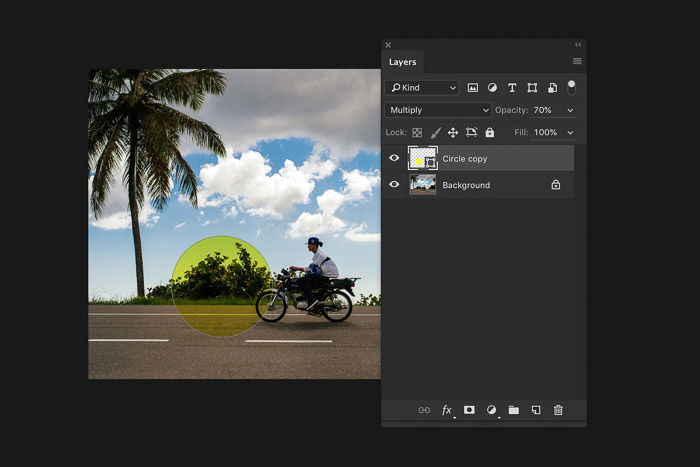
I’ll stick to the basic features of the Layers Panel. The first important button is the Layer Visibility. Click on the eye next to a layer to make it invisible. This is important when you’re working with a lot of layers. It simulates a before and after effect. On the bottom of the panel are the buttons to add layers, use special effects, group and remove layers. More about those later. Above the layers are the settings for Blend Mode and Opacity. Try to adjust the settings for the ‘Circle’ layer we’ve created. Experiment with different settings to see what they do. Remember, changing setting for layers never affects the original photo.
Duplicate Layers
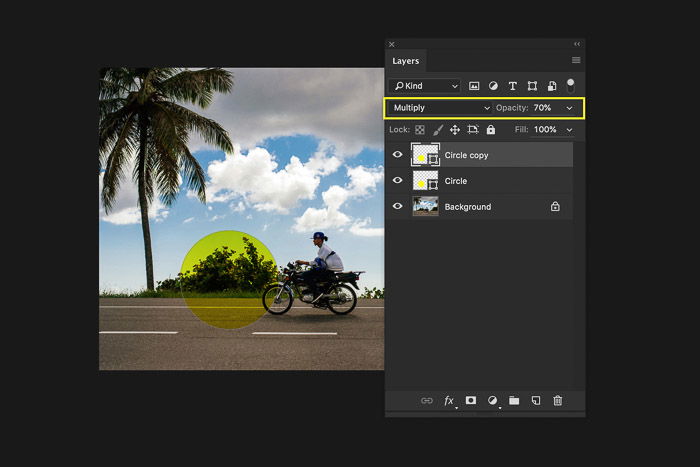
Right click on the ‘Circle’ layer and select ‘Duplicate Layer…’. A new window will pop up. Click OK. This will add an exact copy of the selected layer. You can also use shortcut Command + J (Ctrl + J for Windows).
Group Layers
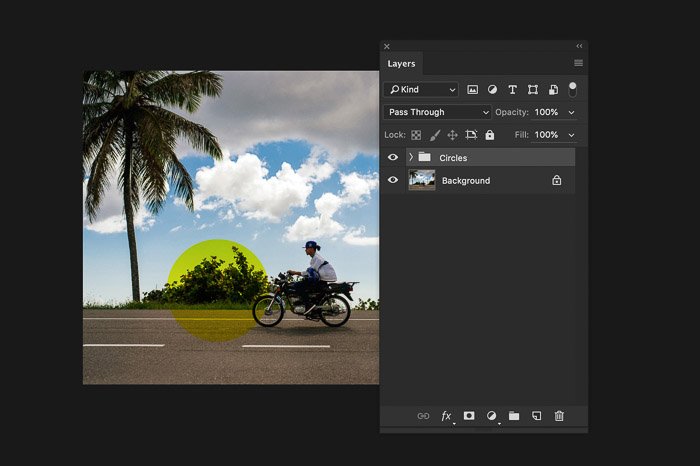
When you’re using a lot of layers, it can be useful to group layers. This will organize the structure of the Layers Panel… and your brain. Select the ‘Circle copy’ layer and then hold the Shift key and select the ‘Circle’ layer. Right click on the layers and select ‘Group Layers…’ A new window will pop up. You can name the new layers group here. Name the group ‘Circles’ and click OK. The two layers are now grouped.
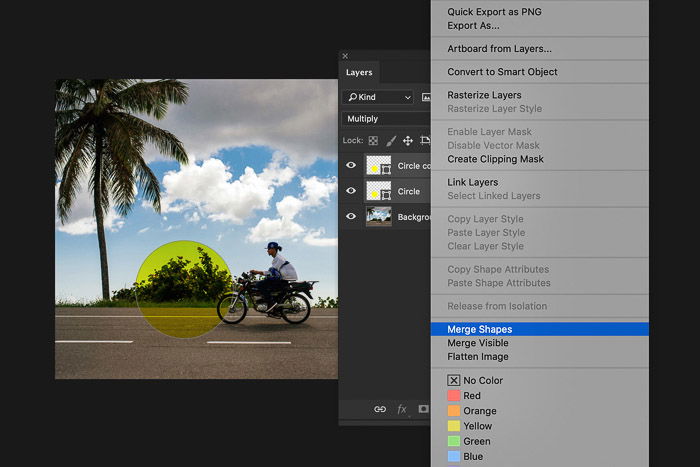
Merge Layers
When there’s no reason anymore to have two separate layers, you can merge them. Use Command + Z to undo the grouping of the layers (Ctrl + Z for Windows). Select both layers. Right click on the layers and select ‘Merge Shapes’. Both layers will merge into one.
Different Types of Layers
There are a few different types of layers available in Photoshop but they all work the same. You can also merge different types of layers into one layer.
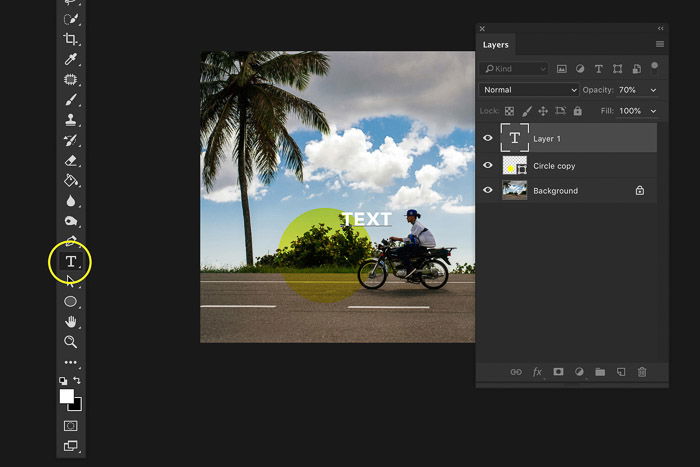
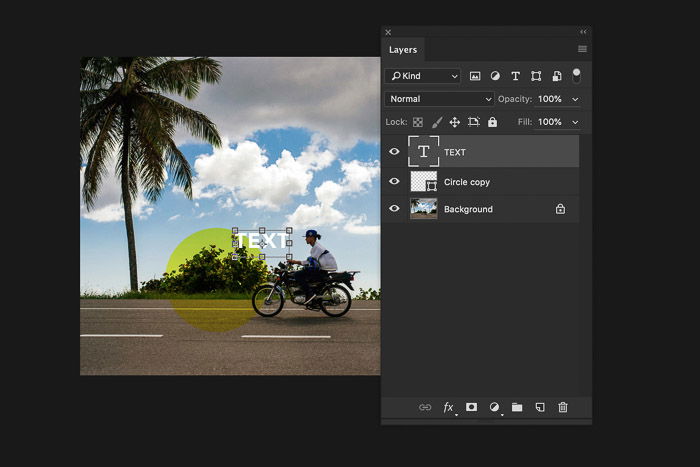
Text Layers
Select the Text Tool in the toolbar and start typing anywhere in the photo. This will create a new Text Layer. You can reposition or change the color and font at any time. Using Command + T will allow you to resize the text with the mouse.
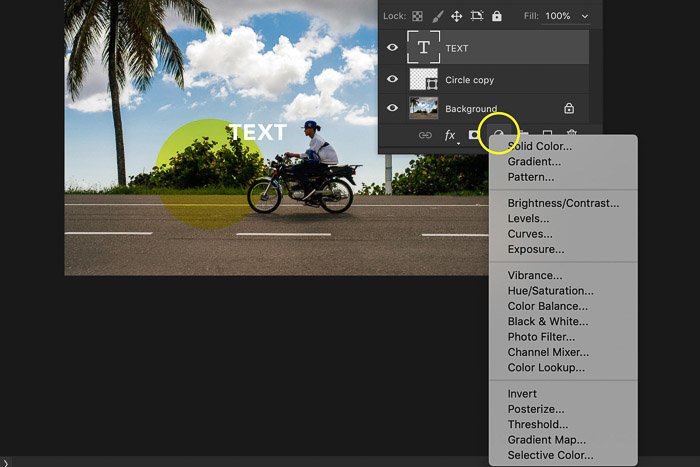
Adjustment Layers
Let’s look at the buttons at the bottom of the Layers Panel again. Click on the ‘New fill or adjustment layer’ button. You can use these adjustment layers to edit colors and contrast. The adjustments will never affect the original photo directly. It’s called non-destructive editing in Photoshop. Non-destructive editing is by far the most important feature Photoshop has to offer. Always edit your photos this way. Make a habit out of it as soon as you start learning how to edit.
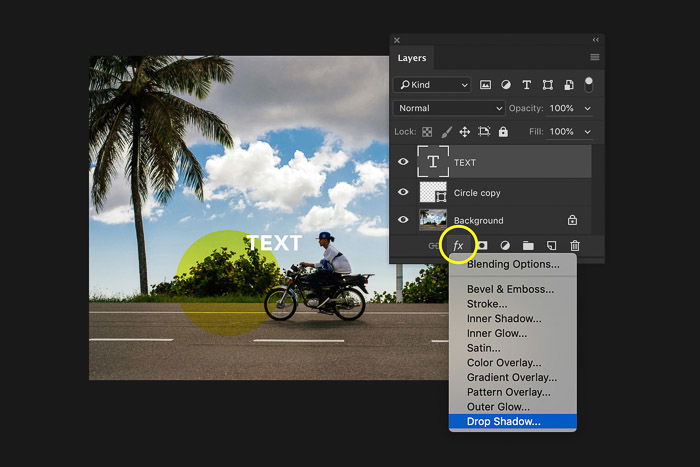
Special Effects
The last important button is the ‘Add layer style’ button. You can add special effects like shadows and glow to layers. Select the Text layer you’ve created and click on the ‘Add layer style’ button. Try to add a drop shadow. A new window will pop up to adjust the settings. Experiment a little and click OK. You’ve added a drop shadow to the text. You can go back to the settings of the effect you’ve added by clicking on the special effects symbol in the layer.
Conclusion
There are so many possibilities that I could write a book about Photoshop layers. Knowing how to use Layers is one of the most important things to learn. Every professional photographer uses layers to edit photos. Start out with adding simple layers and explore the possibilities. However, if you really want to master the use of layers, it’s best to buy a guide book or look for a course. You’ll learn how to use Photoshop Layers faster and better this way.