Vintage photography has a very distinct and loud character to it. Here’s how to replicate it with modern equipment, from mirrorless cameras to luxury glass lenses.
1. Vintage Photography: Studying Old Film Cameras to Recreate Their Style
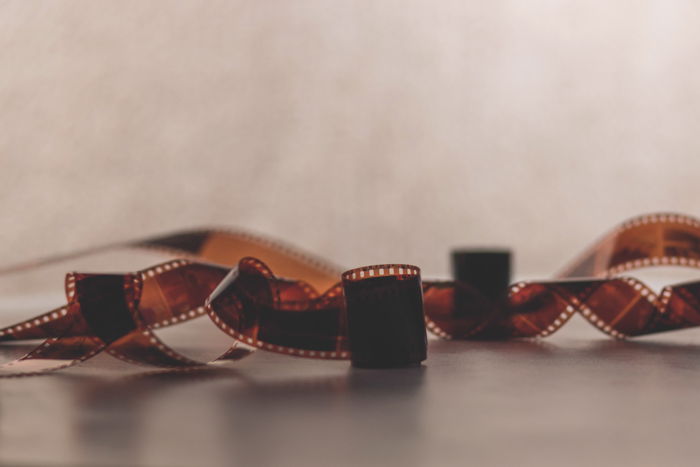
Take a look at the limitations and expectations of the cameras, lenses, and even filters used in the past. You need to know this to replicate their look with your current equipment. Film cameras had a natural softness to them and lacked in contrast. They also didn’t have great low light capability. The images tended to have a lot of grain in them. Another important aspect of vintage images is resolution. The cameras used to create square images rather than our habitual rectangular photographs. The lenses were far more advanced than the cameras themselves. Lenses tended to have wide-open apertures and produce images that had quite a bit of contrast. The focus was also on the softer side. But it was still relatively clear for what it was. The most common millimeters used were the 50mm and the 35mm. Other lenses that didn’t create much distortion were also common. Today, you can use any camera to capture vintage photography. But the older and less expensive the camera, the easier it will be. For even more accuracy, head to your local pawn shop and see if you can find an actual film camera and lens! There are still some chains, shops, and companies that develop film. Buying film is fairly simple with access to the internet.
2. Choose a Theme to Keep Your Vintage Photos Consistent
Photography may not be as old as other art forms, but its short history still has distinct styles. You can choose to create an old 19th century-style portrait. Or go for a more modern and dramatic 1920s group shot, complete with flapper costumes. Sticking with one theme will add consistency to your photoshoot, and make your pictures stand out.
3. Shoot Classical Compositions for a Vintage Feel
Composition refers to the arrangement of elements in a frame. The composition makes or breaks an image. But composition has the added bonus of being nostalgic and reminiscent. Capturing compositions similar to how photographs were taken back in the day will help your image look vintage. For the most part, there wasn’t a huge amount of experimentation in photography until much later in the craft’s history. Classic compositions include very clear vertical and horizontal axes and the image plane parallel to the subject. Don’t try for compositions that are too off-beat, odd, or ‘edgy’. The Golden Rule and Rule of Thirds were developed in photography’s classical years.
4. Take Overly Posed Spontaneous-Looking Images for a More Fun Shoot
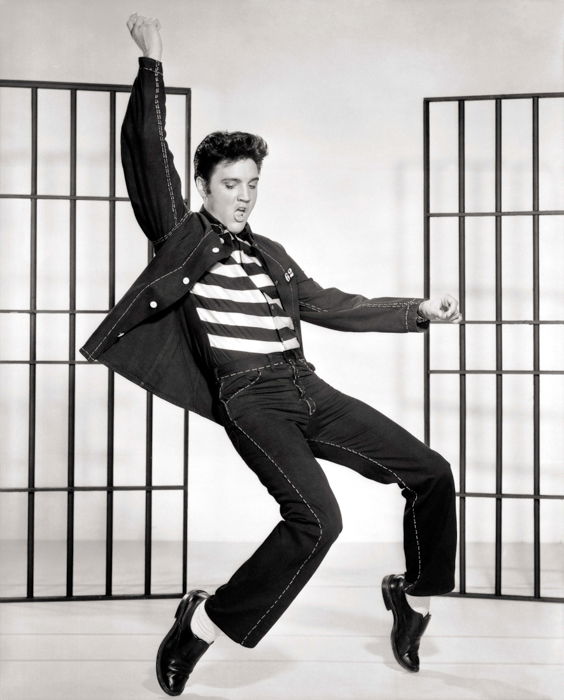
If you hadn’t already noticed from a quick Google search on vintage photography, there are only two extremes. The subject is either very candid or very posed. There is a reason for this! Once upon a time, cameras had very slow shutters. The slower the shutter, the more motion blur in an image if the subject is moving in any way. As a result, portraiture was static or posed. Most of the time, the subjects would look grim or have a resting face. Holding a smile for several minutes is difficult! Your subject doesn’t need to sit still for several minutes anymore. But keeping a rigid and overly static pose is more in-tune with classic photography. When cameras became more versatile and the technology improved, the shutters got much faster. Cameras also got much smaller and more portable. A lot of photographers were really into capturing more candid and unexpected moments. They finally had the technology to do so! So the other extreme is very candid and spontaneous portraiture. Direct your subject to be a bit more silly and spontaneous. That burst of emotion and personality is what’s going to nail your vintage photographs.
5. Get Creative and Change the Depth of Field
Depth of field is a versatile setting you can adjust to change the feel of your vintage photos. From Ansel Adams’ f/64 narrow aperture to the bright and wide apertures of f/1.4. Experiment with all of them to find a vintage photography style that suits you.
6. Imperfections Will Make Your Vintage Photos More Authentic
The beauty of vintage photography is that it isn’t perfect. They didn’t have Photoshop or Lightroom back then. There were some things you could fix in a darkroom with a paintbrush as you’re developing. But not to the extent you can do now with a computer program. There is no guarantee or certainty with film. Films get damaged, and you would never know it until the photograph gets developed. Those imperfections add so much character and life to a photograph. Even when the photo is something as simple as a portrait of a vase. If you are using a digital camera, remember to allow the image to be imperfect. If a solar flare or light leaks into the frame, let it be! Some dust on the lens? Just fine! You can even replicate some film damage via photo editing software. This includes color bleeds or a significant amount of grain.
7. Why a Soft Look Is Great for Vintage Images
Much of the appeal of vintage photography is the softness of it. Film cameras and lenses weren’t as sharp as modern equipment. Everything tended to have a little bit of a matte finish to it. This was also due to the paper used at the time, there was never any deep contrast to it. Lowering the contrast and adding some matte filters can create a very vintage-like feel to an image. As well as this, achieving perfect focus isn’t always a necessity. Traditional lenses were all manual. It wasn’t always possible to achieve the most perfect focus.
8. How to Post-Process Vintage Photos
Unless you’re using an actual film camera and developing the film either yourself or at a shop, post-processing will be a necessity. Cropping, altering colors and overlaying textures are just some of the techniques you’ll be using. The industry-standard editing programs are Photoshop and Lightroom, but these programs can cost a significant sum of money. For free alternatives, you can try GIMP or Snapseed. With Photoshop and Lightroom, you can download presets or actions to replicate a vintage photography look with just a click of a button. Some of these are paid, but there are many free resources as well.
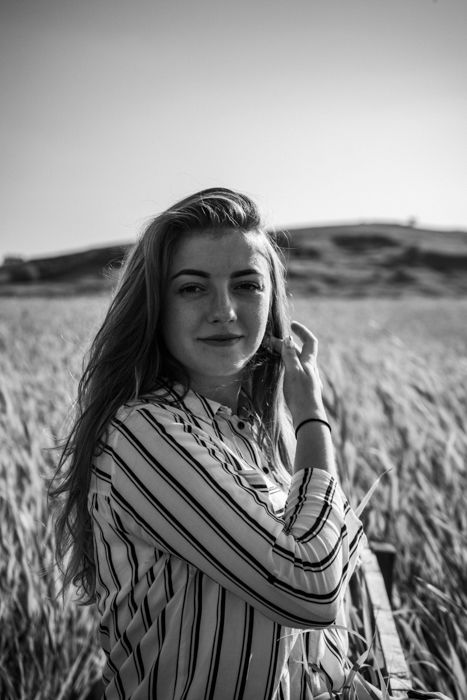
9. Shoot Black and White or Sepia-Toned Images
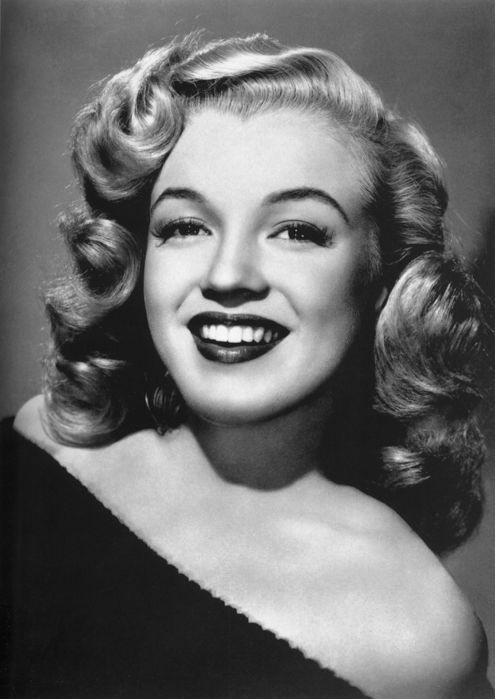
There was a limit to the inks and how the inks could be used in vintage photography work. Most vintage photographs tended to be black and white. Black ink was easiest to create (and cheaper to use). As for colors, up until a certain point in history, photographs had to be colored by hand. Film was black and white. Photographers would take a paintbrush and paint on the print. This caused the colors to look more muted and monotone, despite being actual colors. Desaturation will be your friend in post-processing as you alter the colors to match the time period. Sepia filter is another very popular vintage photography color scheme. Sepia is a reddish-brown color associated with monochrome photographs of the 19th and early 20th centuries. Contrary to popular belief, photographs were not sepia due to the passage of time. They were actually colored that way on purpose. Sepia was used to increase the longevity of the photograph, since prints decay. Modern papers may not decay for hundreds of years. But the original prints from that time period decayed at a much faster rate. Sepia records light in a single color or wavelength. This coloration is achieved through a chemical process called toning. This is carried out on silver-based photographic prints. This toning is believed to slow down decay.
10. Make the Most of Vintage Clothing and Locations
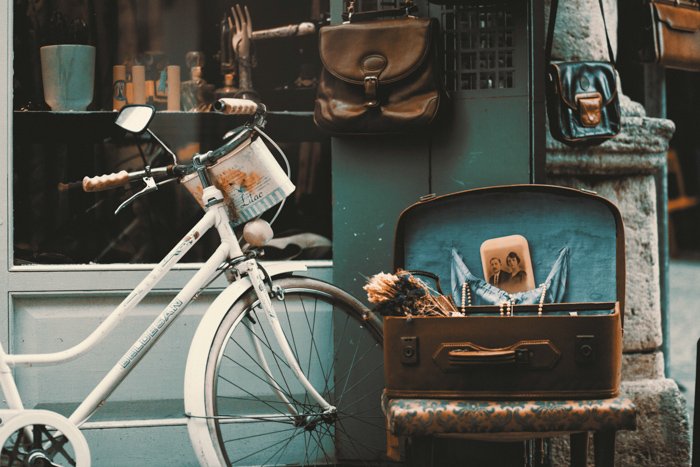
How you stage a scene tells the deeper story. Taking photographs in locations with a vintage look can help you sell a vintage photography story. Historical districts are a great idea for this. Props and styling can also add to the feel of the image. Look for vintage clothing, furniture, and even vintage makeup and hairstyling. Avoid anything that could be a dead giveaway to modern times. This includes contemporary cars, facial piercings, smartwatches, cell phones, and other such things. Much of vintage photography is playing around with textures. Whether it be textured printing paper or textures within the photograph, this was a true love of traditional photographers. Even grain in and of itself is a texture!
Conclusion
Vintage photography is just a time machine into the past. Forget about the modern tricks of your gear and take it all back to its roots. What’s your favorite type of vintage photography? Let us know in the comments below! We have a great post on how to restore old photos next!


title: “10 Vintage Photography Tips For Taking Cool Vintage Photos” ShowToc: true date: “2023-01-21” author: “Stephanie Myatt”
Vintage photography has a very distinct and loud character to it. Here’s how to replicate it with modern equipment, from mirrorless cameras to luxury glass lenses.
1. Vintage Photography: Studying Old Film Cameras to Recreate Their Style
Take a look at the limitations and expectations of the cameras, lenses, and even filters used in the past. You need to know this to replicate their look with your current equipment. Film cameras had a natural softness to them and lacked in contrast. They also didn’t have great low light capability. The images tended to have a lot of grain in them. Another important aspect of vintage images is resolution. The cameras used to create square images rather than our habitual rectangular photographs. The lenses were far more advanced than the cameras themselves. Lenses tended to have wide-open apertures and produce images that had quite a bit of contrast. The focus was also on the softer side. But it was still relatively clear for what it was. The most common millimeters used were the 50mm and the 35mm. Other lenses that didn’t create much distortion were also common. Today, you can use any camera to capture vintage photography. But the older and less expensive the camera, the easier it will be. For even more accuracy, head to your local pawn shop and see if you can find an actual film camera and lens! There are still some chains, shops, and companies that develop film. Buying film is fairly simple with access to the internet.
2. Choose a Theme to Keep Your Vintage Photos Consistent
Photography may not be as old as other art forms, but its short history still has distinct styles. You can choose to create an old 19th century-style portrait. Or go for a more modern and dramatic 1920s group shot, complete with flapper costumes. Sticking with one theme will add consistency to your photoshoot, and make your pictures stand out.
3. Shoot Classical Compositions for a Vintage Feel
Composition refers to the arrangement of elements in a frame. The composition makes or breaks an image. But composition has the added bonus of being nostalgic and reminiscent. Capturing compositions similar to how photographs were taken back in the day will help your image look vintage. For the most part, there wasn’t a huge amount of experimentation in photography until much later in the craft’s history. Classic compositions include very clear vertical and horizontal axes and the image plane parallel to the subject. Don’t try for compositions that are too off-beat, odd, or ‘edgy’. The Golden Rule and Rule of Thirds were developed in photography’s classical years.
4. Take Overly Posed Spontaneous-Looking Images for a More Fun Shoot
If you hadn’t already noticed from a quick Google search on vintage photography, there are only two extremes. The subject is either very candid or very posed. There is a reason for this! Once upon a time, cameras had very slow shutters. The slower the shutter, the more motion blur in an image if the subject is moving in any way. As a result, portraiture was static or posed. Most of the time, the subjects would look grim or have a resting face. Holding a smile for several minutes is difficult! Your subject doesn’t need to sit still for several minutes anymore. But keeping a rigid and overly static pose is more in-tune with classic photography. When cameras became more versatile and the technology improved, the shutters got much faster. Cameras also got much smaller and more portable. A lot of photographers were really into capturing more candid and unexpected moments. They finally had the technology to do so! So the other extreme is very candid and spontaneous portraiture. Direct your subject to be a bit more silly and spontaneous. That burst of emotion and personality is what’s going to nail your vintage photographs.
5. Get Creative and Change the Depth of Field
Depth of field is a versatile setting you can adjust to change the feel of your vintage photos. From Ansel Adams’ f/64 narrow aperture to the bright and wide apertures of f/1.4. Experiment with all of them to find a vintage photography style that suits you.
6. Imperfections Will Make Your Vintage Photos More Authentic
The beauty of vintage photography is that it isn’t perfect. They didn’t have Photoshop or Lightroom back then. There were some things you could fix in a darkroom with a paintbrush as you’re developing. But not to the extent you can do now with a computer program. There is no guarantee or certainty with film. Films get damaged, and you would never know it until the photograph gets developed. Those imperfections add so much character and life to a photograph. Even when the photo is something as simple as a portrait of a vase. If you are using a digital camera, remember to allow the image to be imperfect. If a solar flare or light leaks into the frame, let it be! Some dust on the lens? Just fine! You can even replicate some film damage via photo editing software. This includes color bleeds or a significant amount of grain.
7. Why a Soft Look Is Great for Vintage Images
Much of the appeal of vintage photography is the softness of it. Film cameras and lenses weren’t as sharp as modern equipment. Everything tended to have a little bit of a matte finish to it. This was also due to the paper used at the time, there was never any deep contrast to it. Lowering the contrast and adding some matte filters can create a very vintage-like feel to an image. As well as this, achieving perfect focus isn’t always a necessity. Traditional lenses were all manual. It wasn’t always possible to achieve the most perfect focus.
8. How to Post-Process Vintage Photos
Unless you’re using an actual film camera and developing the film either yourself or at a shop, post-processing will be a necessity. Cropping, altering colors and overlaying textures are just some of the techniques you’ll be using. The industry-standard editing programs are Photoshop and Lightroom, but these programs can cost a significant sum of money. For free alternatives, you can try GIMP or Snapseed. With Photoshop and Lightroom, you can download presets or actions to replicate a vintage photography look with just a click of a button. Some of these are paid, but there are many free resources as well.
9. Shoot Black and White or Sepia-Toned Images
There was a limit to the inks and how the inks could be used in vintage photography work. Most vintage photographs tended to be black and white. Black ink was easiest to create (and cheaper to use). As for colors, up until a certain point in history, photographs had to be colored by hand. Film was black and white. Photographers would take a paintbrush and paint on the print. This caused the colors to look more muted and monotone, despite being actual colors. Desaturation will be your friend in post-processing as you alter the colors to match the time period. Sepia filter is another very popular vintage photography color scheme. Sepia is a reddish-brown color associated with monochrome photographs of the 19th and early 20th centuries. Contrary to popular belief, photographs were not sepia due to the passage of time. They were actually colored that way on purpose. Sepia was used to increase the longevity of the photograph, since prints decay. Modern papers may not decay for hundreds of years. But the original prints from that time period decayed at a much faster rate. Sepia records light in a single color or wavelength. This coloration is achieved through a chemical process called toning. This is carried out on silver-based photographic prints. This toning is believed to slow down decay.
10. Make the Most of Vintage Clothing and Locations
How you stage a scene tells the deeper story. Taking photographs in locations with a vintage look can help you sell a vintage photography story. Historical districts are a great idea for this. Props and styling can also add to the feel of the image. Look for vintage clothing, furniture, and even vintage makeup and hairstyling. Avoid anything that could be a dead giveaway to modern times. This includes contemporary cars, facial piercings, smartwatches, cell phones, and other such things. Much of vintage photography is playing around with textures. Whether it be textured printing paper or textures within the photograph, this was a true love of traditional photographers. Even grain in and of itself is a texture!
Conclusion
Vintage photography is just a time machine into the past. Forget about the modern tricks of your gear and take it all back to its roots. What’s your favorite type of vintage photography? Let us know in the comments below! We have a great post on how to restore old photos next!


