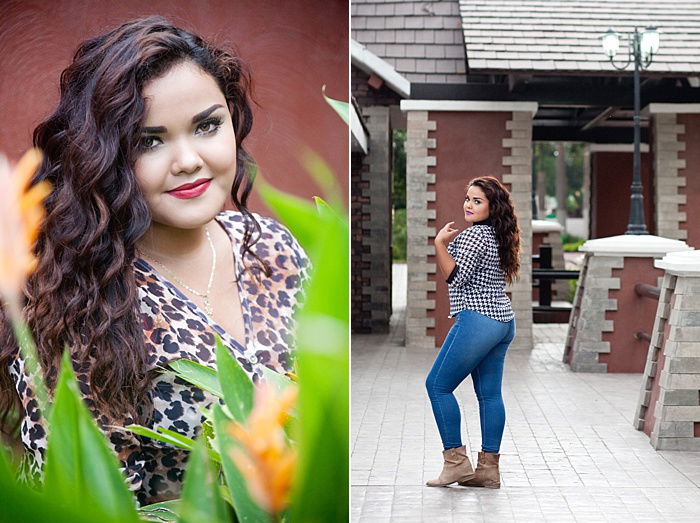
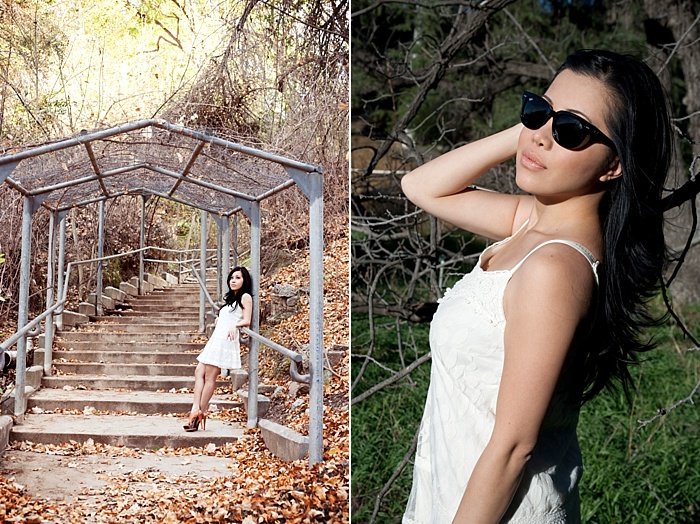
1. Environmental Portrait Using Ambient Light
You don’t need to have expensive gear to get started in environmental portraiture. Pre-existing ambient light can give you everything you need. Just make sure you know where you are going to photograph. Then you can set the time of the session to take place when the lighting is just right. For example, if you are going for more drama and harsh shadows, photograph your client from midday to late afternoon. You’ll capture the deep shadows that the sun makes during that time. If you are looking for softer, cooler light, photograph your client during the early morning hours. That’s when the light temperature is more of a blue hue rather than a bright white or yellow. Sunset, of course, is going to give you that really nice golden light that can make things look more ethereal. Depending on the story that your client is trying to convey through their portraits, the sun can provide you with all the variations in light. The use of reflectors and diffusers can help to bounce light back onto your subject to create more drama. You can also use them to light the scene of where your portrait is taking place. This is especially useful if you find yourself in a parking garage or location where the background falls dark naturally. Knowing how to identify and use natural light reflectors can help you to bounce and shapeshift ambient light back onto your scene or your client. For example, bright white sidewalks and pavement bounce light back up. Another example is when light reflects off the glass windows of buildings, especially helpful if you’re in an urban area.
2. Or Artificial Lighting
Of course, any type of artificial lighting like flashes or strobes can help you light your environmental portraits quite easily. Artificial lighting allows you to add or take away light, which can help in creating or setting the mood of the portrait. Using flashes is a great and lightweight way to bounce light, shape light, and add drama all while keeping your gear compact. Using flashes on manual mode is the best way to light a scene consistently and without having your flash think for you. You can set the power of the flash to what you like for the particular scene, and if you have more than one, you can set them to different powers depending on where you have placed them. Same goes for strobes. If you only have one flash, use it to light the entire scene by placing it farther away from your subject and using a modifier like a small softbox, umbrella, or the white bounce that fits on the flash unit. Pointing towards the ceiling bounces light evenly. Bouncing light 45 degrees from your subject, like an adjacent wall, can bounce light directionally and add more shadows. Use this technique when you want to add more depth to the portrait. Be aware of your background and how it is changing in light as well. You don’t want to have a too dark background. The portrait won’t include much of the scene, which adds to the environmental portrait. Artificial lighting doesn’t only apply to photography equipment but also to the existing lighting within the scene. For example, existing lighting can be pendent lighting, lamps, street lamps, even headlights from your car. Flashlights are also a great way to light a scene including the one on your phone. Don’t be afraid to experiment with different types of artificial lighting and mixing the two when the opportunity arises.
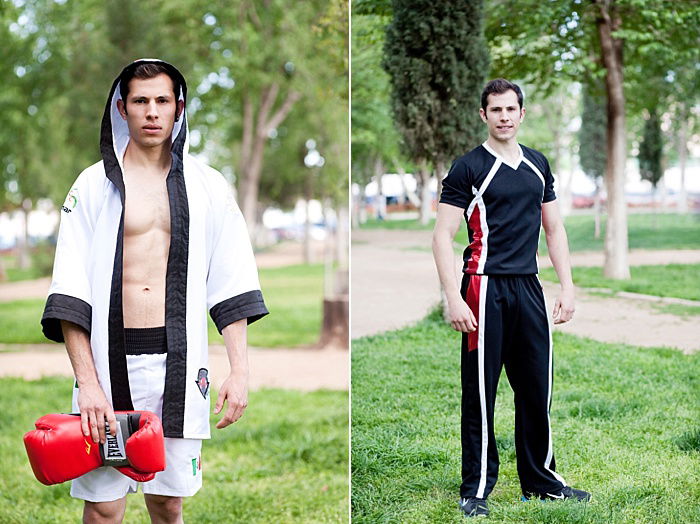
3. Know the Purpose of the Environmental Portrait
Environmental portraits are more compelling because they are taken in order to tell a story. Talk with your client beforehand in order to get the story that your portraits are going to tell. This may mean that you will need to take more than one portrait in various locations and scenes. Speaking with your client can also offer more insight into how you are supposed to choose your portrait lighting. Is the portrait going to set a mood or convey a certain emotion? Is your portrait supposed to be sunny and convey a happy message? These questions are important so that you are making portraits your client is looking for to tell their story, whatever that may be.
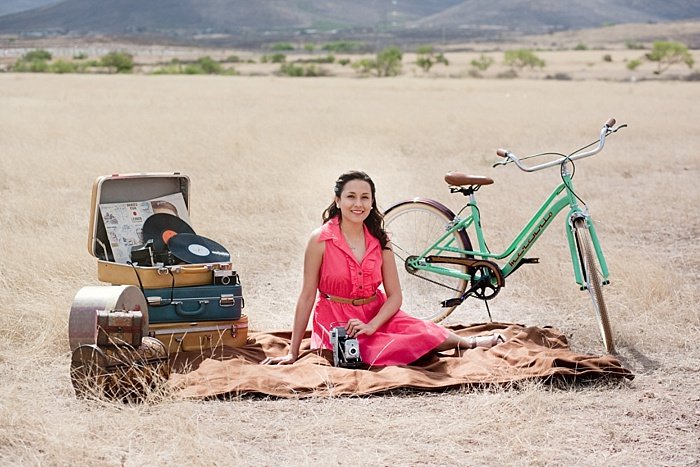
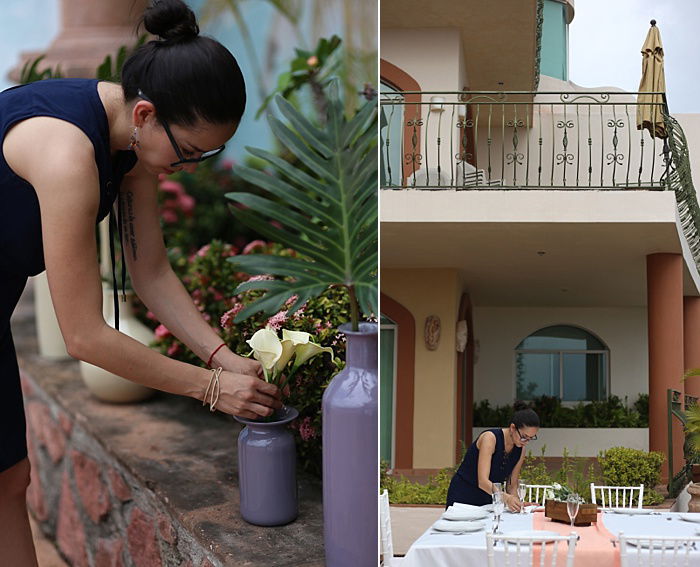
4. Stage Your Scene
Environmental portraits can take place indoor or outdoor, at your client’s workplace, or even in a parking garage. Don’t be afraid of photographing your client in different spaces. This can mean different angles as well as lighting. You can even move furniture around and out of the way if you choose to not include it in the frame. Make sure to ask before moving fragile items or furniture and always put everything back the way you found it. For example, a wedding planner can set up a “mock” table scene at one of her favourite venues and you can take portraits of her “setting up” the reception area. Staging environmental portraits offers more versatility and personalisation.
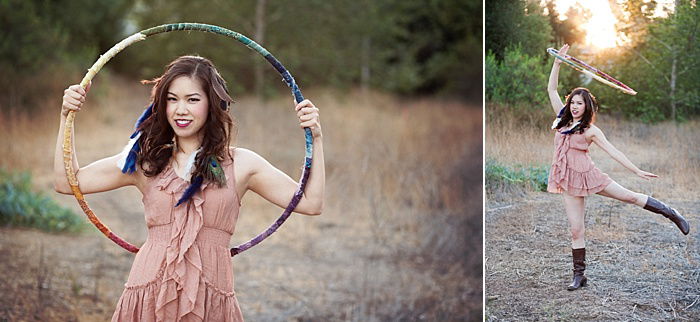
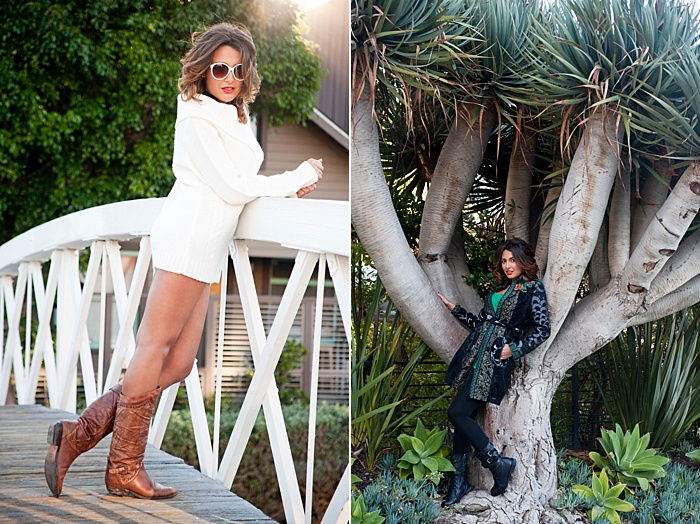
5. Step Back
Environmental portraits look best when you actually include more of the background in the frame. Step back and take a look at your entire scene starting from your background to foreground. Is your background lit accordingly to your client’s purpose? Are there people in your backgrounds that will need to be hidden or taken out of frame by changing your angle? Are your backgrounds in bright sunlight and your subject in the shade? Take the time to observe and photograph a pulled back view of your client. This will save you time later behind the computer in removing people and unwanted eyesores in the background. Portraits don’t always have to be close-up shots of your clients.
6. Mix Light Sources
The great thing about environmental portraits is that you don’t have to stick to one type of lighting. Mixing ambient light with an external source, like a flash, can enhance the overall look of the photo. Ambient light is not just natural light, but the light that already exists in the location that you are photographing in. For example, allowing the background to be lit by warm pendant lighting and lighting your client with a flash, or any other artificial light. Doing this puts the focus on your client and warms the background without being too distracting. You can also mix harsh sunlight and shadows to give your portrait a little more drama and isolate your client more. Even if you are photographing more of the scene or location, you can still play with light in this way to create different moods.
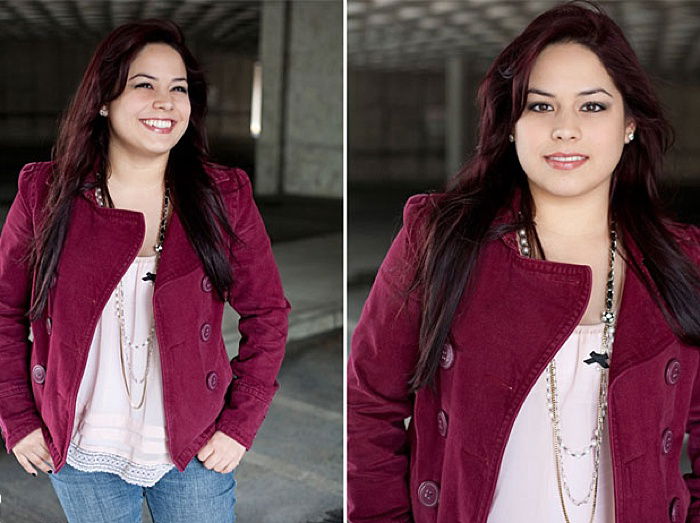
7. Use Different Apertures
Portraits of any kind are usually taken up-close and at a fairly wide aperture. However, environmental portraits should include a mixture of both since you’ll want to take some up close photos to get the details and also further back so that you can get more of the scene in the frame. For close up photos, it’s recommended that you photograph at about f/2.8 to f/5.6 so that you are able to get the whole face in focus and a little detail in the background. Shooting at f/1.4 or f/1.8 gives a very shallow aperture and sometimes you’ll have one eye in focus and another not, which can make it a little awkward when looking at the portrait. In order to get more of the background in focus, try to photograph at about f/8 to f/16. For this to work, you’ll have to stabilize the camera as your shutter speed, especially if photographing in low light or indoor, will be slow. If the shutter speed is slow, you’ll get camera shake, so a tripod is a good idea. Depending on what your client wants, you can determine how many of each to do. A good rule of thumb is to do an equal amount of both to give your client more variety.
8. Experiment With Light Modifiers
Portrait sessions are a great time to experiment with different lighting and light modifiers. Use reflectors to bounce light, softboxes, and umbrellas to soften the light of a flash or strobe, and use translucent screens to minimize harsh light from the sun. You can also use specialised colored gels that mount to a strobe or flash to cast different colors. But I have found that you can also use different colored poster board or walls to reflect the color you want in your scene. Adding color casts to various parts of the scene will make your environmental portrait look more editorial and less like a headshot. Modifying light to act the way you wish is going to change the result of your portrait. You are in control of the light and where you want it to illuminate. You can modify both natural light and artificial light.
9. Have an Assistant
Take an assistant, or a friend, to help you with the lighting equipment. An extra pair of hands is convenient when you need them to hold a reflector, move a flash, or simply help with holding your camera while you make adjustments. While you could do this all on your own, having an assistant simply saves time. Make sure you speak with your assistant before the session so that you are clear as to what their role is during the session. Find out if they are familiar with photography equipment, and if they aren’t, show them and instruct them on how to hold a flash stand or reflector. Obviously, this is crucial to do before the session so that they aren’t slowing the process down and instead, helping. Even if you are the primary photographer at the portrait session, having someone else on set to help with ideas or simply offer different lightening techniques can give your client more variety.
10. Create a Storyboard
Before your session, create a short storyboard using inspirational photos that can help you to previsualize your final portraits. Use photos that have lighting you want to try or create the mood that will convey the story your client wishes to tell with their environmental portraits. You can do this on Pinterest or by downloading the photos onto your phone so that you can keep them in mind during the portrait session. These are not photos that you’re going to copy, though, but take elements that will help you create your own unique set of photos for your client. You can even make a frame by frame storyboard with simple drawings if you are already familiar with the location and know exactly what poses you want to try. Add lighting to finish the storyboard as well so you can previsualize how you are going to light the scene and your client. Storyboards like these can save you time and offer different lighting and pose if you need to change it up and keep the session from feeling stale and boring.
Conclusion
Environmental portraits are really fun to photograph and can offer your client a little more than the usual portrait. By using portrait lighting in different ways, you can create more of a story and give your client variety. Use these tips at your next portrait photography session and create unique and compelling photographs for your client or your portfolio. For more great ideas, check our posts on shooting school portraits, urban portraits or stunning winter portraits!